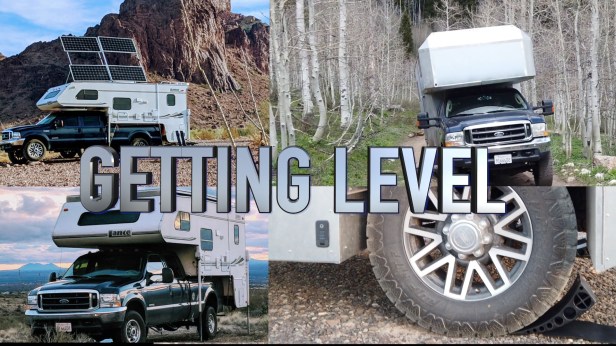
The two “W’s” of owning any type of camper is water damage and wood rot. Wood rot is terrible for any camper, trailer, RV. Poor maintenance of the outside structure will eventually have water working its way in small cracks or old caulking. Once it starts, it’ll keep accumulating water and weakening the wood structure.
In this post we review how we fixed our 2000 truck camper.

Our 23 Year Old
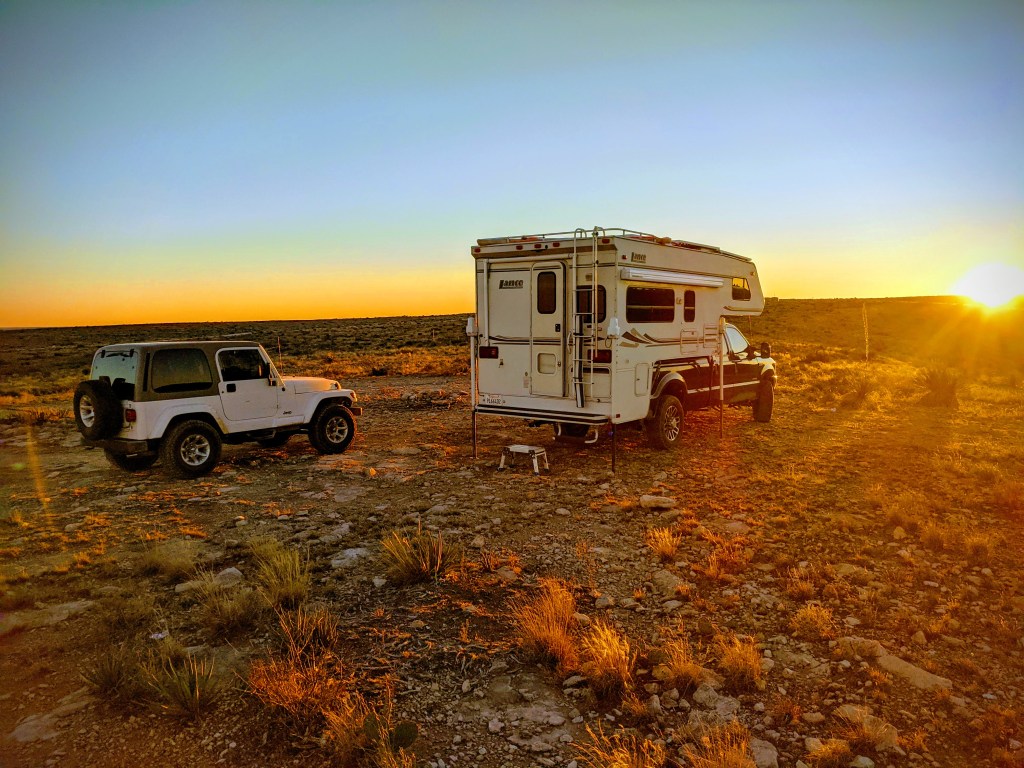
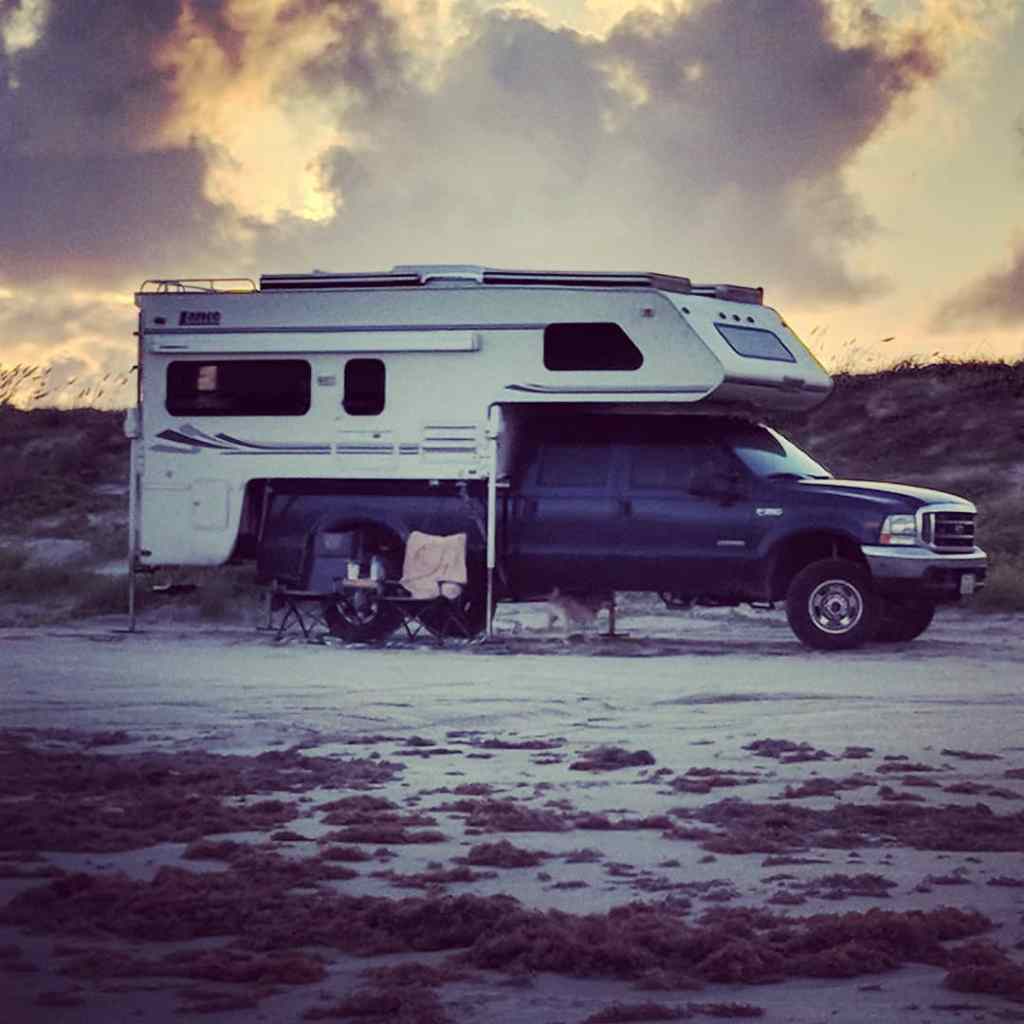
When we initially started traveling, we decided that buying an older camper for a long test drive of this lifestyle was a good approach. It would let us experience the tiny and close living quarters for weeks on end. We obviously passed our test as we invested a lot of sweat equity bringing our customer camper, Maximus to life! Here’s our old Lance and the new Maximus:


The Initial Water Damage Repair
We we purchased the 2000 Lance 1131 it had a few subtle signs of water damage but nothing that prevented us from putting it to work 5 years ago.
The obvious damage when we brought it home was to the wood skirts hanging off the back of the camper. At the time the camper was already 18 years old. This exposed area of the camper was neglected over time and wasn’t very obvious until you looked on the inside of the skirts. Steve repaired the skirt area so it would not continue to worsen.
Retiring Lance
With the skirts being the initial structural repair, we successfully traveled for 3 years in several month long stretches.
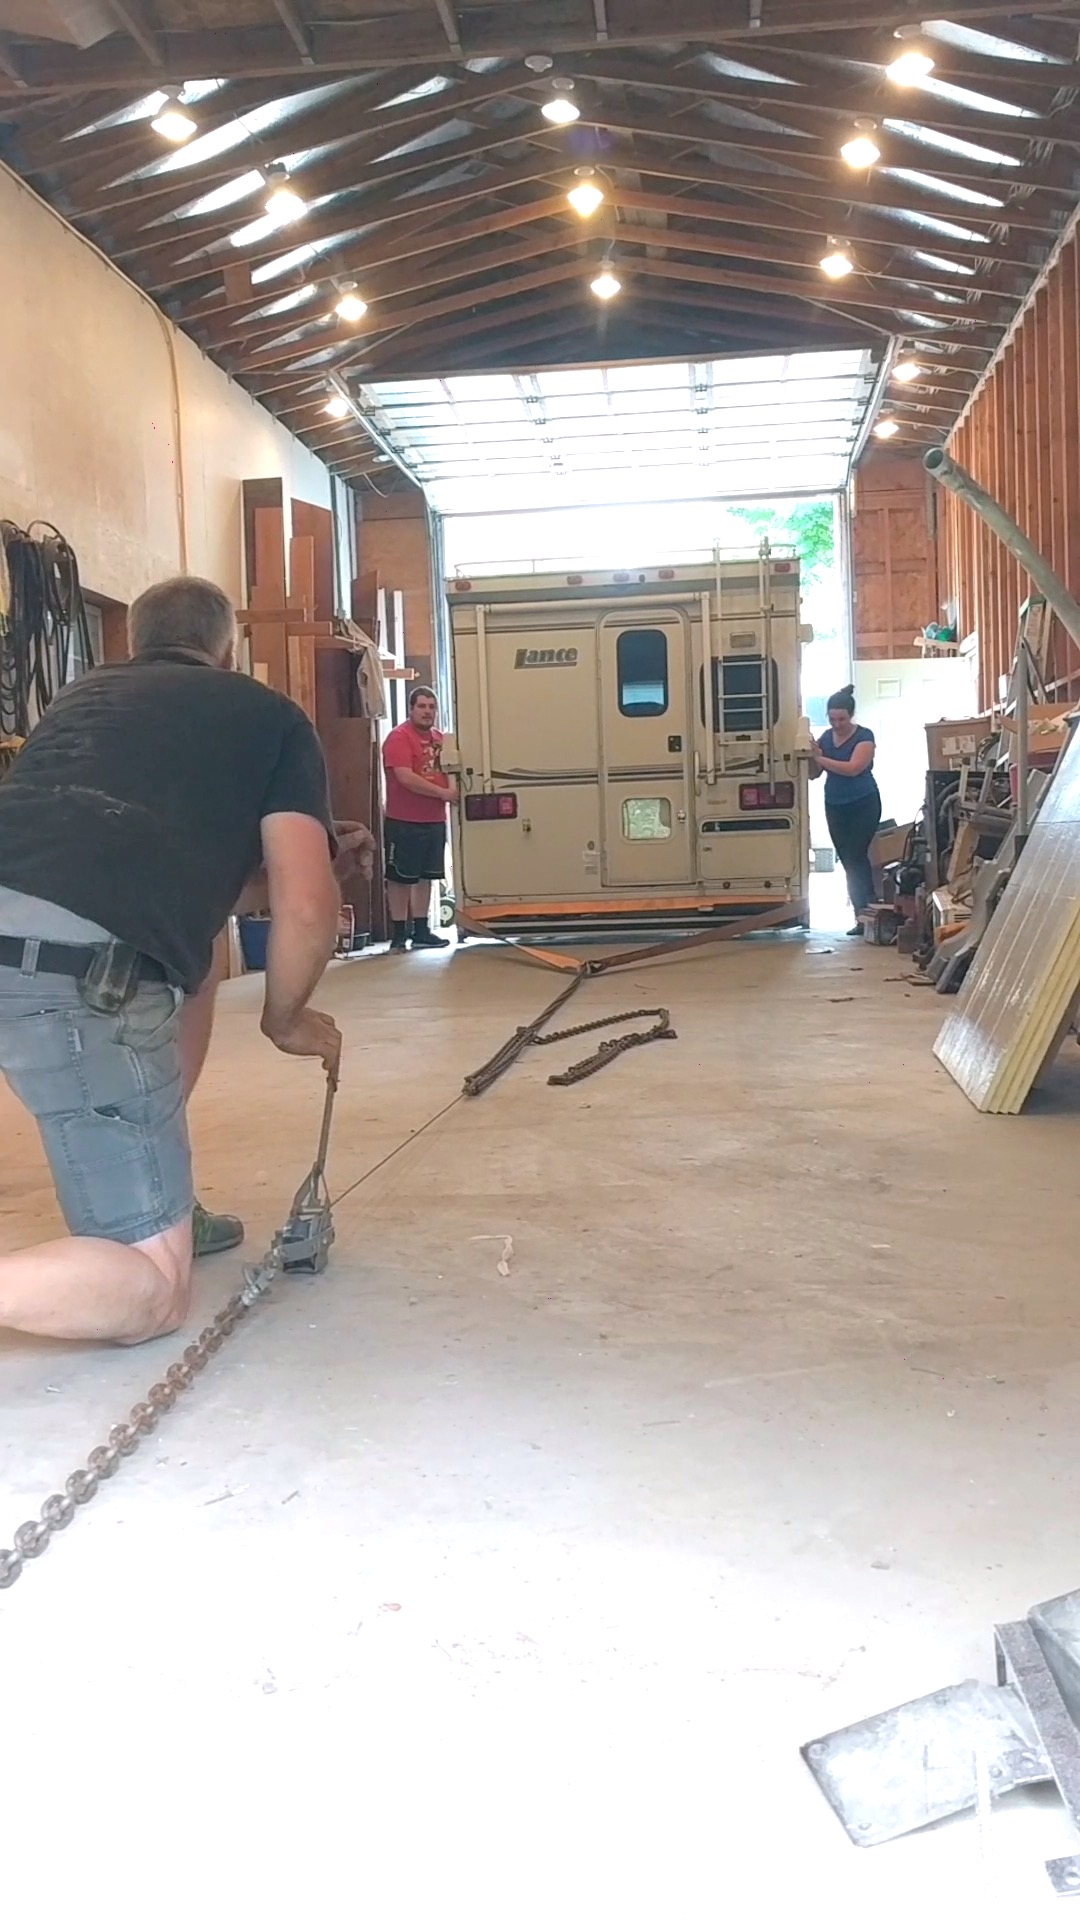
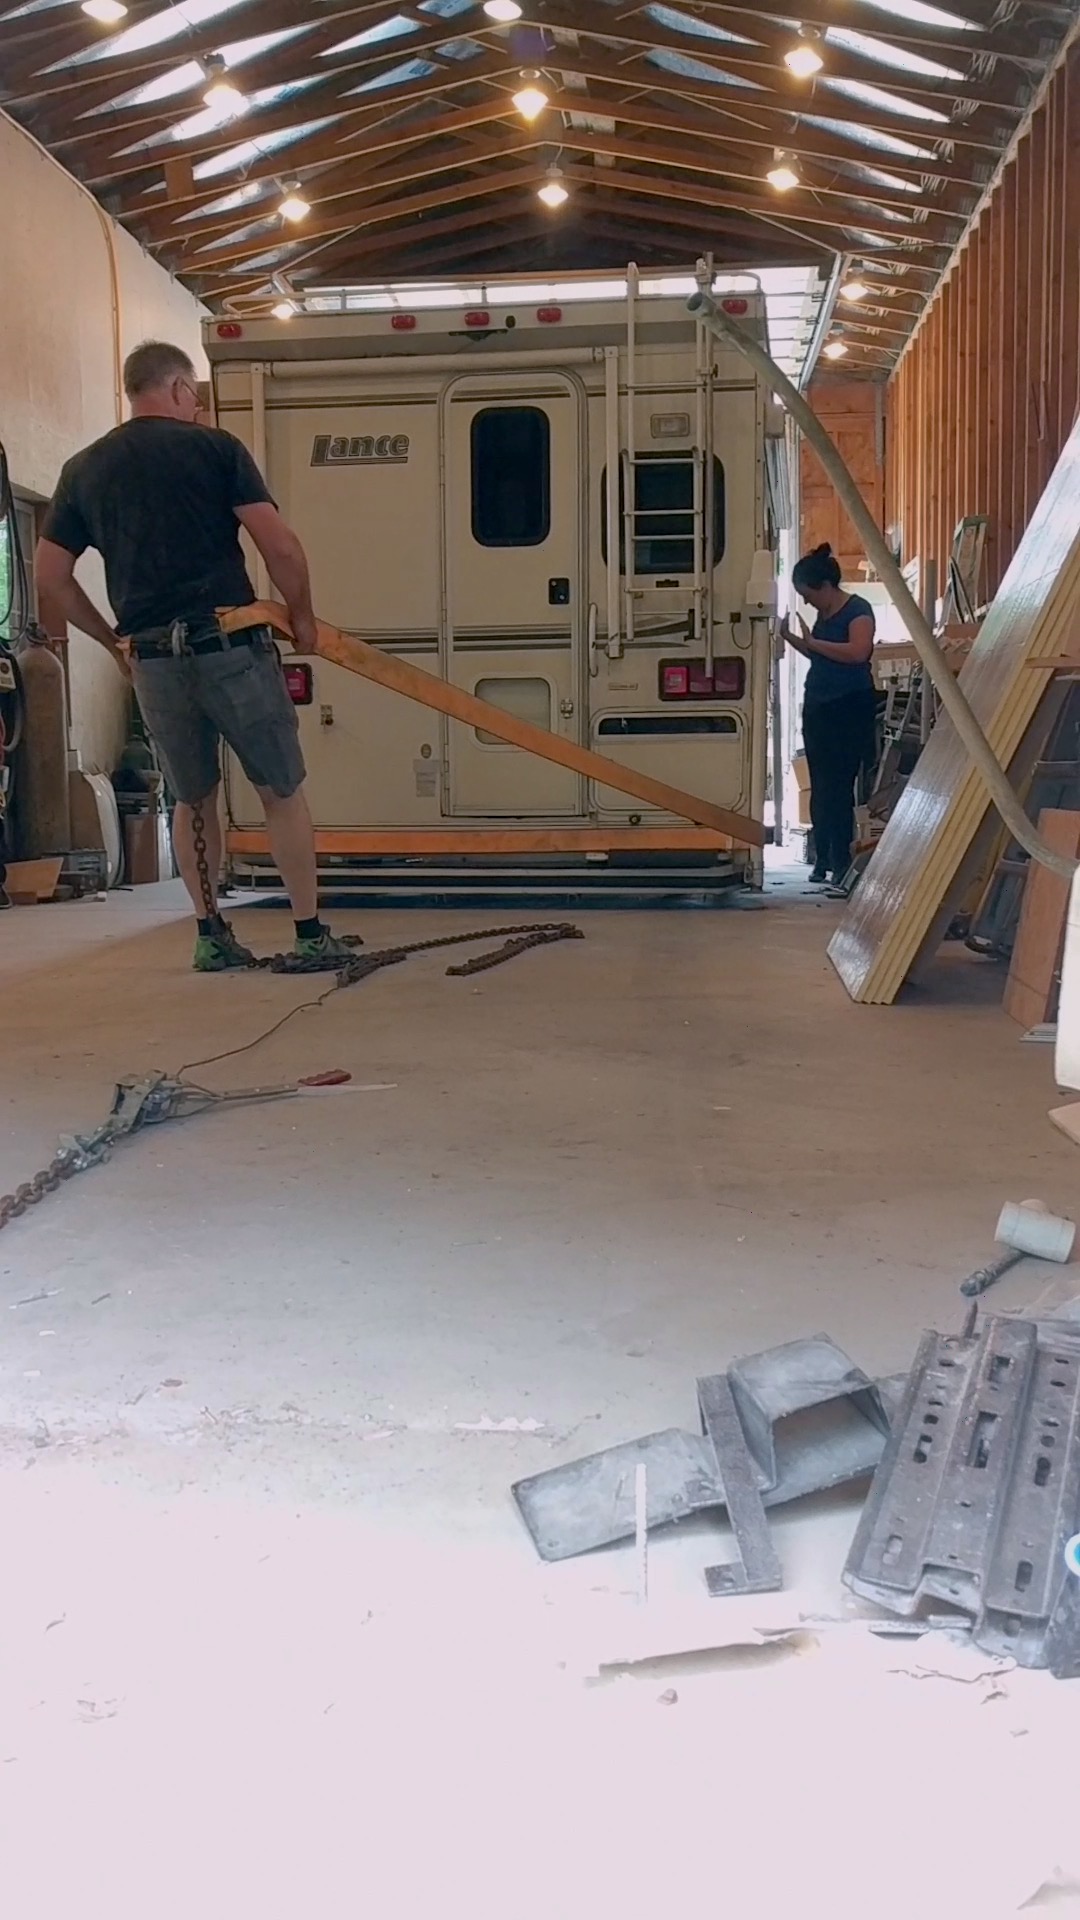
Once Lance was retired, it found a new home in the shop and out of the elements.
Moving a camper without a truck wasn’t an easy task. It was lowered down onto a group of 6x6s and dollies and ever so slowly was pushed and pulled back into the shop. Lance lived in the shop for two years waiting patiently for its water damaged sections to get priority.

Big Repair #1 – Squishy Floor
This repair post originally was published over a year ago covering our floor repair. The bottom of the camper was so bad, it crumbled.
Video: Repairing the Floor
Not all water damage comes from the outside! Plumbing failures happen in campers just like homes. In this case, the damage came from the fresh water tank. We originally published this floor repair video in December 2021. It had new laminate flooring in place when the owner before us purchased the camper. The previous owner never suspected a problem. However, Steve notice a soft spot in the floor but never thought the damage was as extensive as it turned out to be.
A small soft spot can equal half a rotted floor! It was pretty bad.
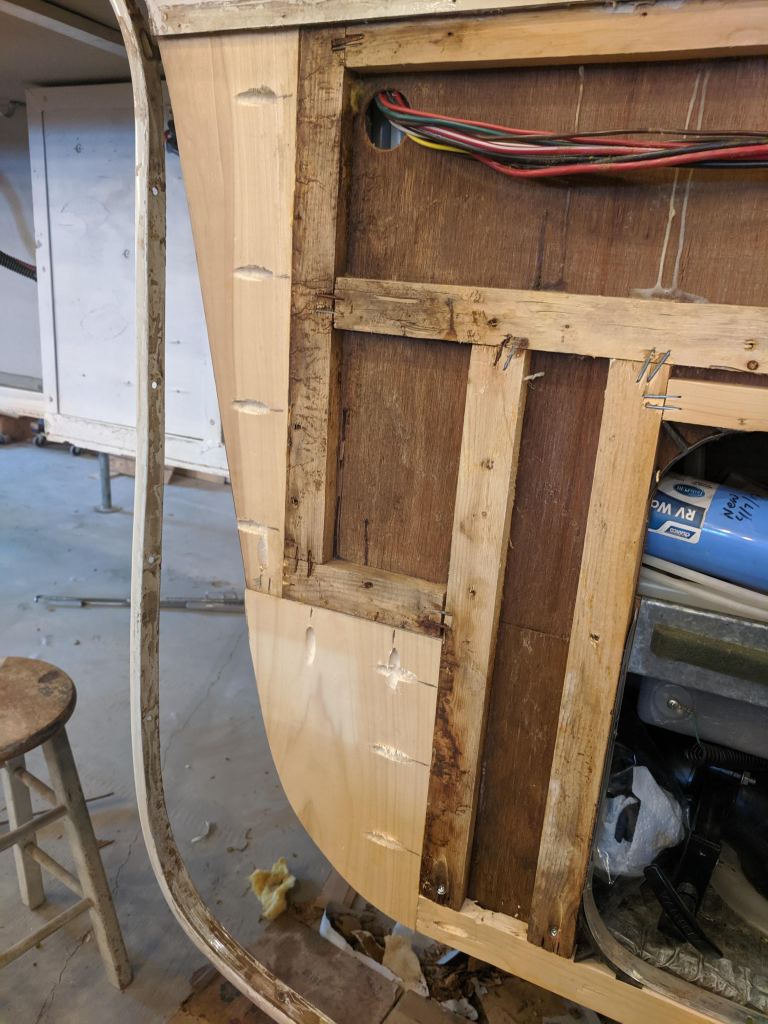
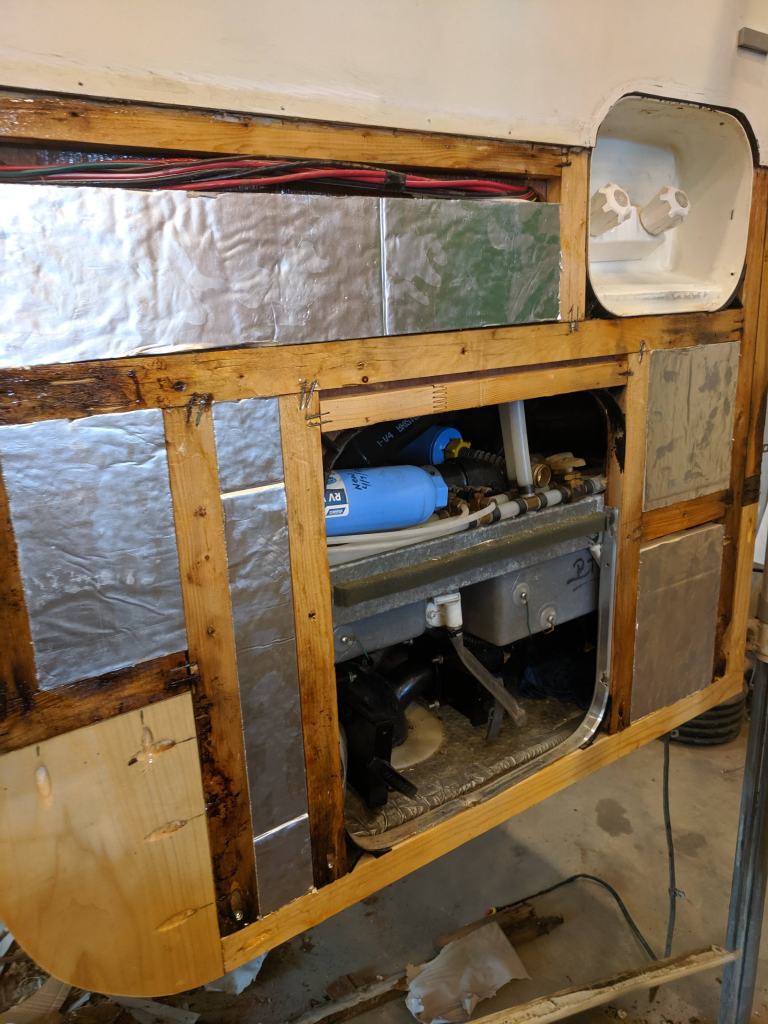
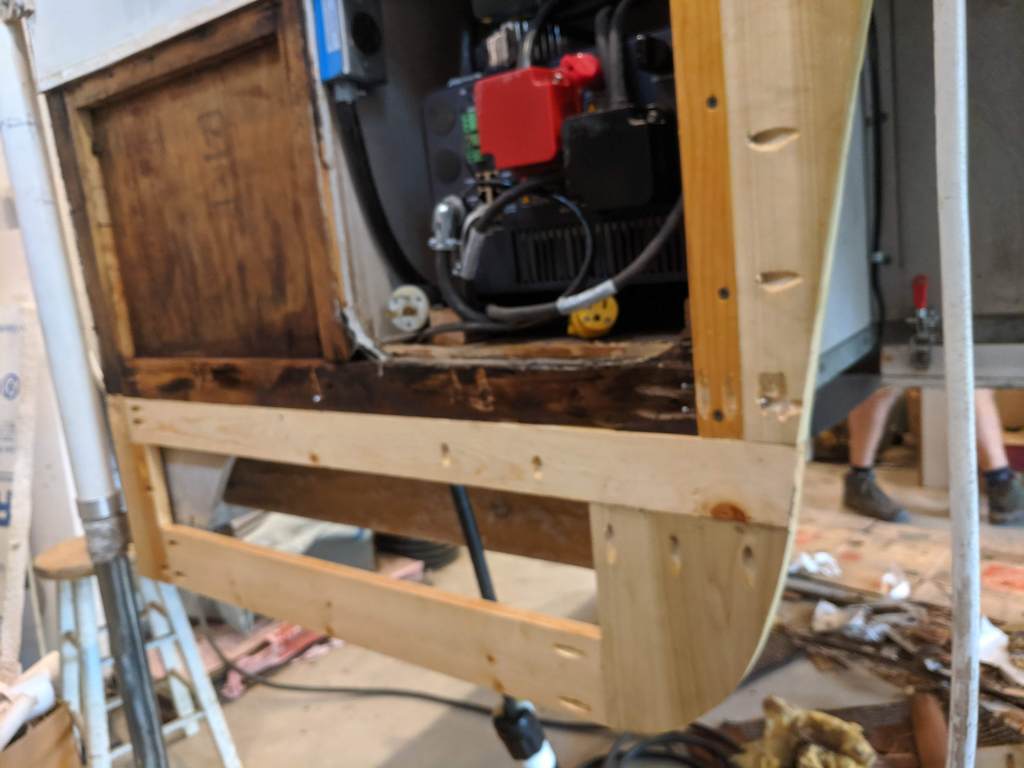
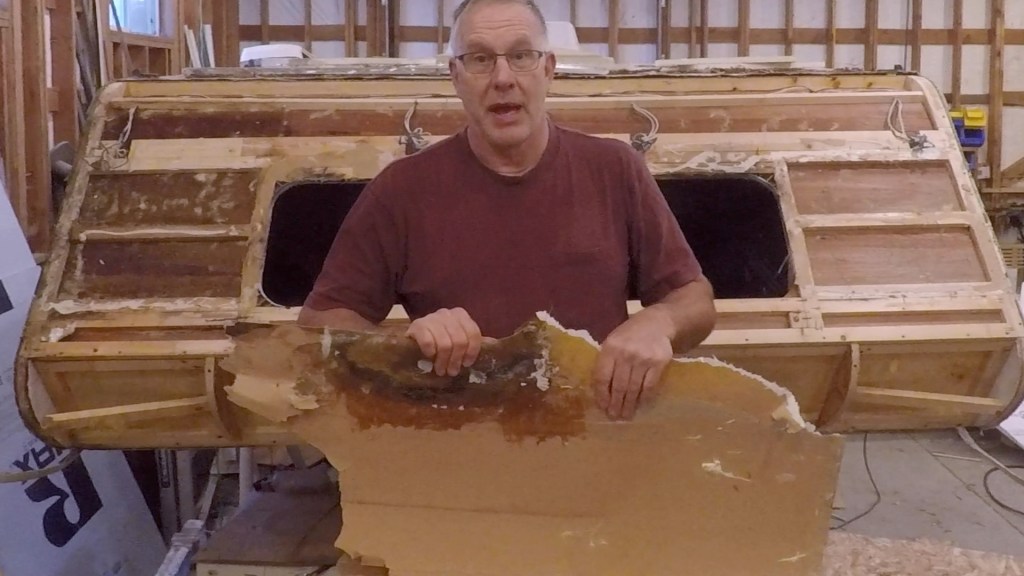
Big Repair #2 – The Nose Job
By the time we retired the Lance, we had also seen de-lamination on the exterior skin along the front bunk. Steve tackled an earlier repair on the nose replacing damaged wood and laying on a coat of resin to keep it safe from more water intrusion. Unfortunately, the de-lamination continued to worsen on the front of the camper. This 2nd video shows the continued progression of water damage evidence.
Now this video is technically a year later than planned. After the floor repair was done, we stayed busier than expected and on the road enough that tackling the front end de-lamination was put on hold until now.
I think the end result turned out nicely:
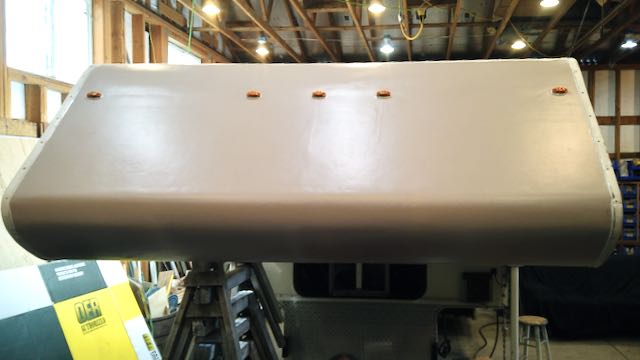
Like the skirts and the floor repair, after all the bad wood was replaced, it was also coated with resin to ensure it would be water proofed and prevent future rot.
Then the insulation needs to get reinstalled. Deciding how to handle the exterior portion meant choosing 1 of these 3 solutions.
- Replace the filon with a new filon covering
- Install an aluminum end cap
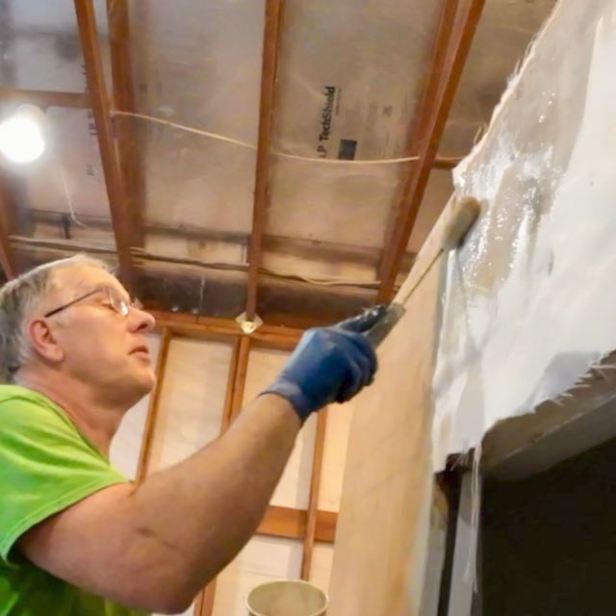
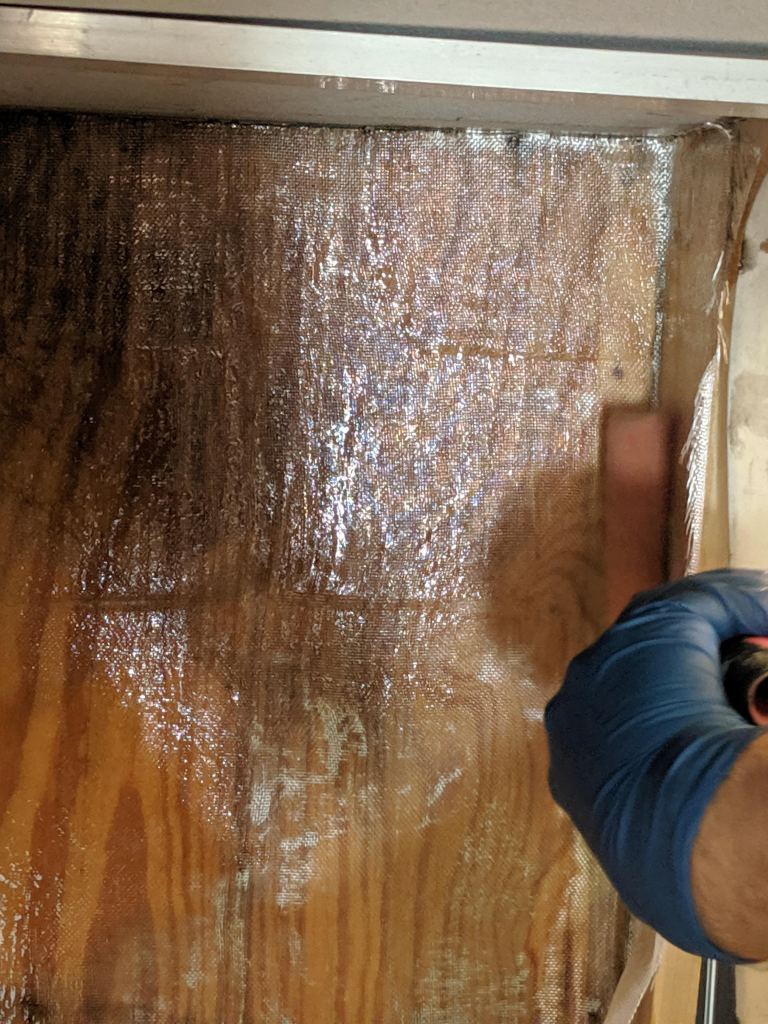
- Like Maximus’ exterior, move forward with a serious of fiberglassing, sanding, smoothing and repeat. There is first a strong 1708 fiberglass cloth installed followed by a smoother 6 oz cloth. In between and after, was a lot of sanding and putty work.
To get the finish as smooth as possible a final coat of gel resin was brushed on. That was followed up with bonding primer and exterior paint.
VIDEO: Never Leak Again
For more specifics on how this repair went, here’s the video.
Many of us might have camped as kids and where do kids hang out? Why, in the bunk staring at at the scenery. In fact, as kids, didn’t you maybe even ride in the camper while dad was driving? Why did we remove the window? You’ll have to watch the video. Now, a recent Instagram post removing this window received more than one comment stating that they’d never remove this window specifically for nostalgic reasons.
What’s Next
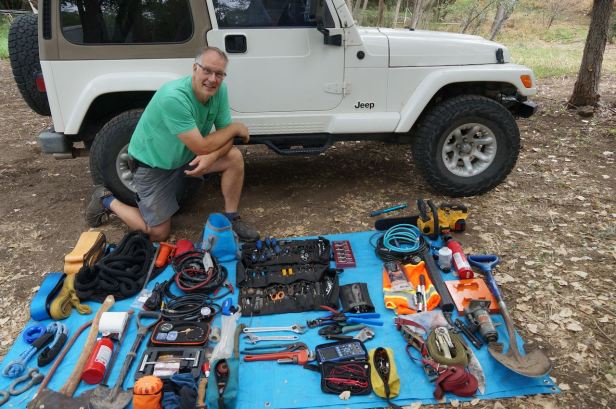
In addition to the repair Steve also needed to return the camper back to its factory condition. We already migrated the Lithium battery setup, inverter and solar panels but still needed to reinstall the generator and re-caulk the roof.
Now that the big work is done, it’s time to clean the interior up for a new owner. With the camper being stored for over 2 years, we needed to also tests all the systems. Yep, there were a couple surprises:
- Turn on the water pump and water went everywhere in the shower. We had a shower on/off valve that Steve forgot was relocated to the new camper. Just had to order a new one and get it installed
- A/C would not work. First theory was the thermostat failed. A new thermostat was ordered. Then he spent two days suspecting and diagnosing a potential board failure. In the end, it was simply the thermostat.
Sometimes it is the simple fix.
If you enjoy personal travel stories and especially camping, follow this blog by entering your email below. You can also follow us on Instagram @WorkingOnExploring or @Maximus.4×4.camper, and subscribe to our WorkingOnExploring YouTube Channel on for our build and trip clips. Good luck on your own exploring and we’ll see you from the road somewhere soon!
Follow WorkingOnExploring travels and ongoing #SundayStills photo Challenge Posts
Delivered directly to your email inbox.